Bubble Inflation of Elastomer Sheet: Bulge Test for Biaxial Loading
The results of virtual simulation of elastomer parts often differ significantly from the real behaviour of components. Possible reason is that only data from unidirectional tensile tests are taken into account. Scientists at the Fraunhofer Institute for Structural Durability and System Reliability LBF have improved known test specifications for the biaxial tensile test. The implemented 3D optical measurement during the loading allows the precise measurement of the mechanical response of the elastomer sheets. The data from new test improves the material modelling thus providing the basis for an enhancement of the design quality of elastomer components.
Modelling based on the tensile test alone is easy but not sufficient for real elastomers.
The aim is therefore to provide industry usable information on the mechanical
behaviour of elastomers under multi-axial loadings. The bulge test is the simplest way
to realize biaxial tensile loadings on elastomer sheets. This method of Fraunhofer LBF
supplies data for reliable modelling of components. In this way, parts for automobiles,
components in aircraft construction or products for sports, medicine, and household
can be designed more reliably and more cost-effectively.
New method improves material modeling
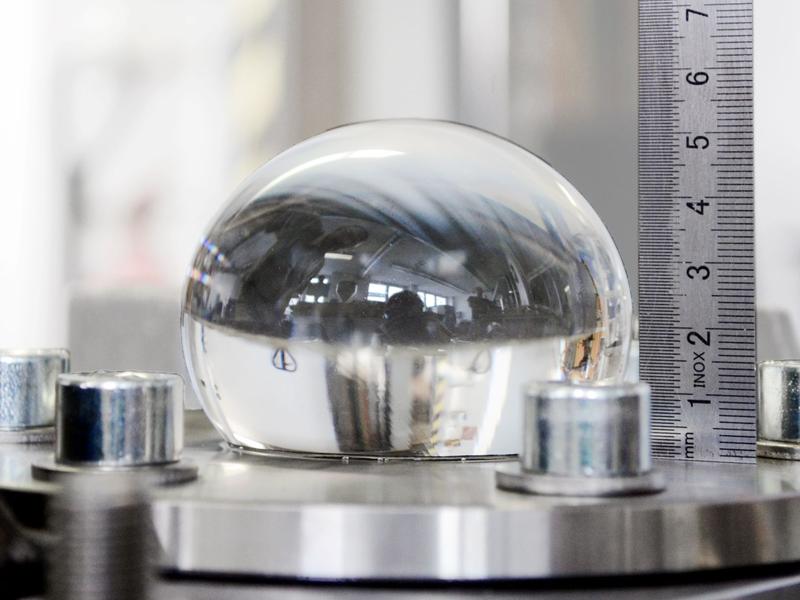
The test fixture consists of a circular ring, an elastomer plate and a base plate. The
elastomer plate is clamped in the test fixture and inflated with water, causing it to
expand as a bubble. A balanced biaxial stress occurs in the center of the bubble. Stress
singularities in the clamping area are avoided by a special design of the edges of the
circular ring. To ensure optimum fixation of the plate, the circular ring is centered and
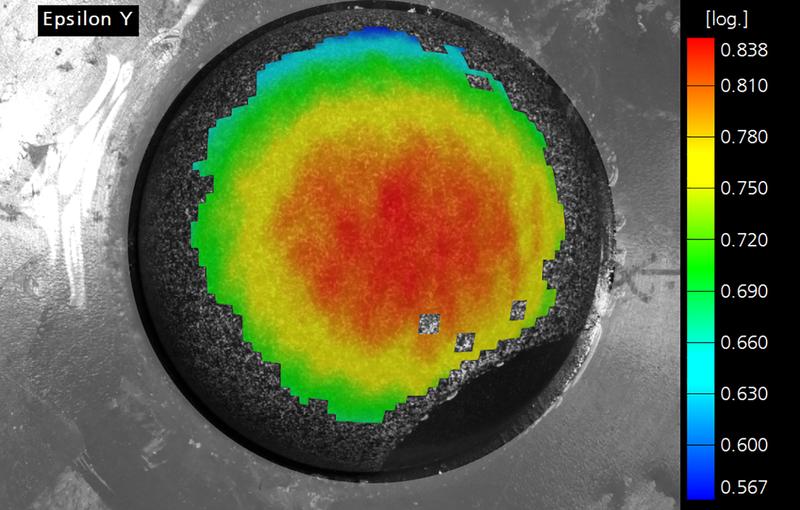
carefully bolted on the base plate. The evaluation of the geometry change in the
elastomer bubble is performed in a subsequent post-processing step using the GOM
Aramis 3D software. The test results can be evaluated up to an approximate height of
the bubble of 45 millimeters. Here, the maximum height is set by varying the diameter
of the circular ring. The inner diameter of the circular ring of 40 to 50 millimeters is
recommended for elastomer plates in order to obtain useful results in the evaluation.
An elliptical bore can also be used to obtain additional stress states in the bubble for
more in-depth material analysis. Water or alternative fluids are used as the pressure
medium. The tests are performed according to customer specifications or standards.
Evaluation of three-dimensional deformation by digital image correlation
Optimal results are obtained for specimens with an external diameter of 110
millimeters. The thickness of the materials is measured before the examination. This
measurement is based on a method specially developed at the Fraunhofer LBF, which
avoids the induction of stress concentrations in the specimen. The specimen is speckled
with a statistically distributed black and white pattern and then tested directly to
ensure optimum adhesion between the sheet and the black and white pattern. This
allows the evaluation of two-dimensional strains on the specimen surface by digital
image correlation as function of pressure. In addition, the setup allows to obtain results
on potential stress whitening in an isochoric deformation mode. This is done by
inspecting an unpainted spot in the fourth quadrant of the specimen.
To obtain data on possible anisotropy of the material, all specimens are mounted in the
test fixture in the same position, taking into account their orientation in the sheet. The
setup allows the sample to be placed on the base plate without air bubbles, ensuring
that the incompressibility assumption for the pressurized media is met.
The scientists analyze the individual challenges of modeling elastomeric materials and
provide expertise at all levels of the design process.
Wissenschaftlicher Ansprechpartner:
Dr. Vladimir A. Kolupaev, vladimir.kolupaev@lbf.fraunhofer.de
Axel Nierbauer, axel.nierbauer@lbf.fraunhofer.de
Ähnliche Pressemitteilungen im idw


